Configure Aspera Workspace
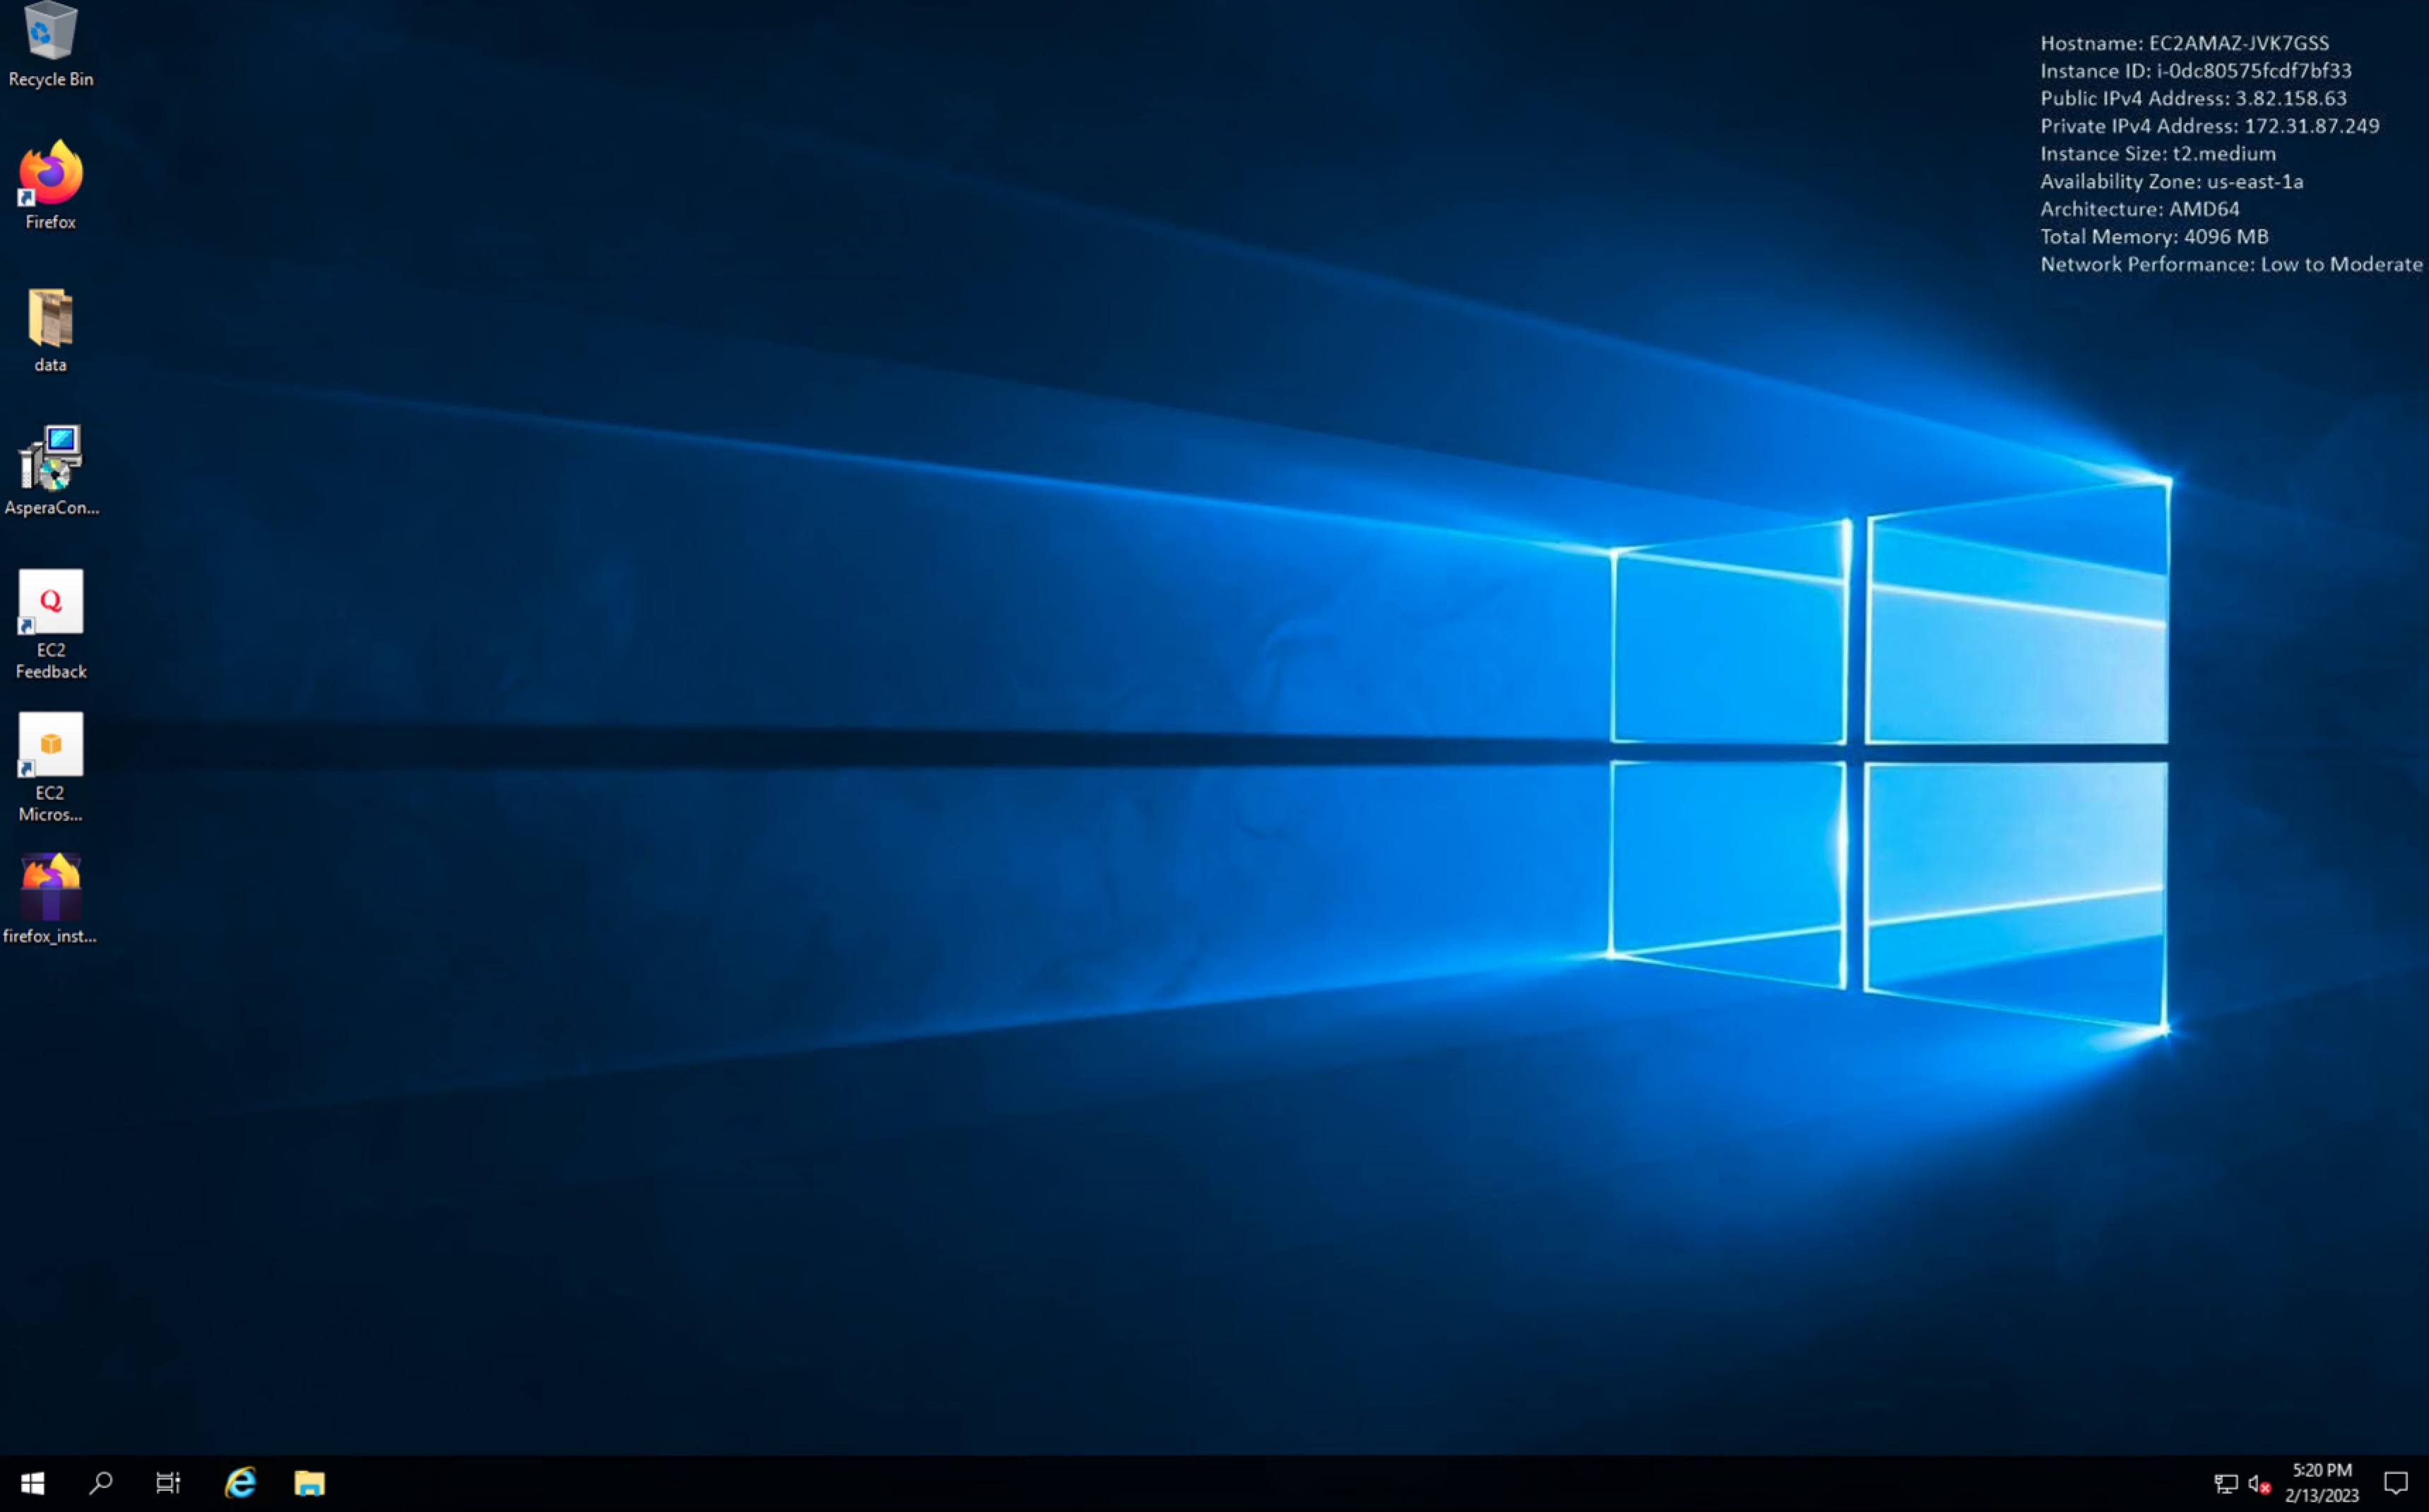
1. Navigate to EC2 and establish an RDP connection.
- AWS Console -> EC2 -> Instances -> Select the EC2 Aspera instance
- Click Connect.
- Select the RDP tab.
- Download the RDP client.
- Decrypt your password using the KeyPair file download earlier.


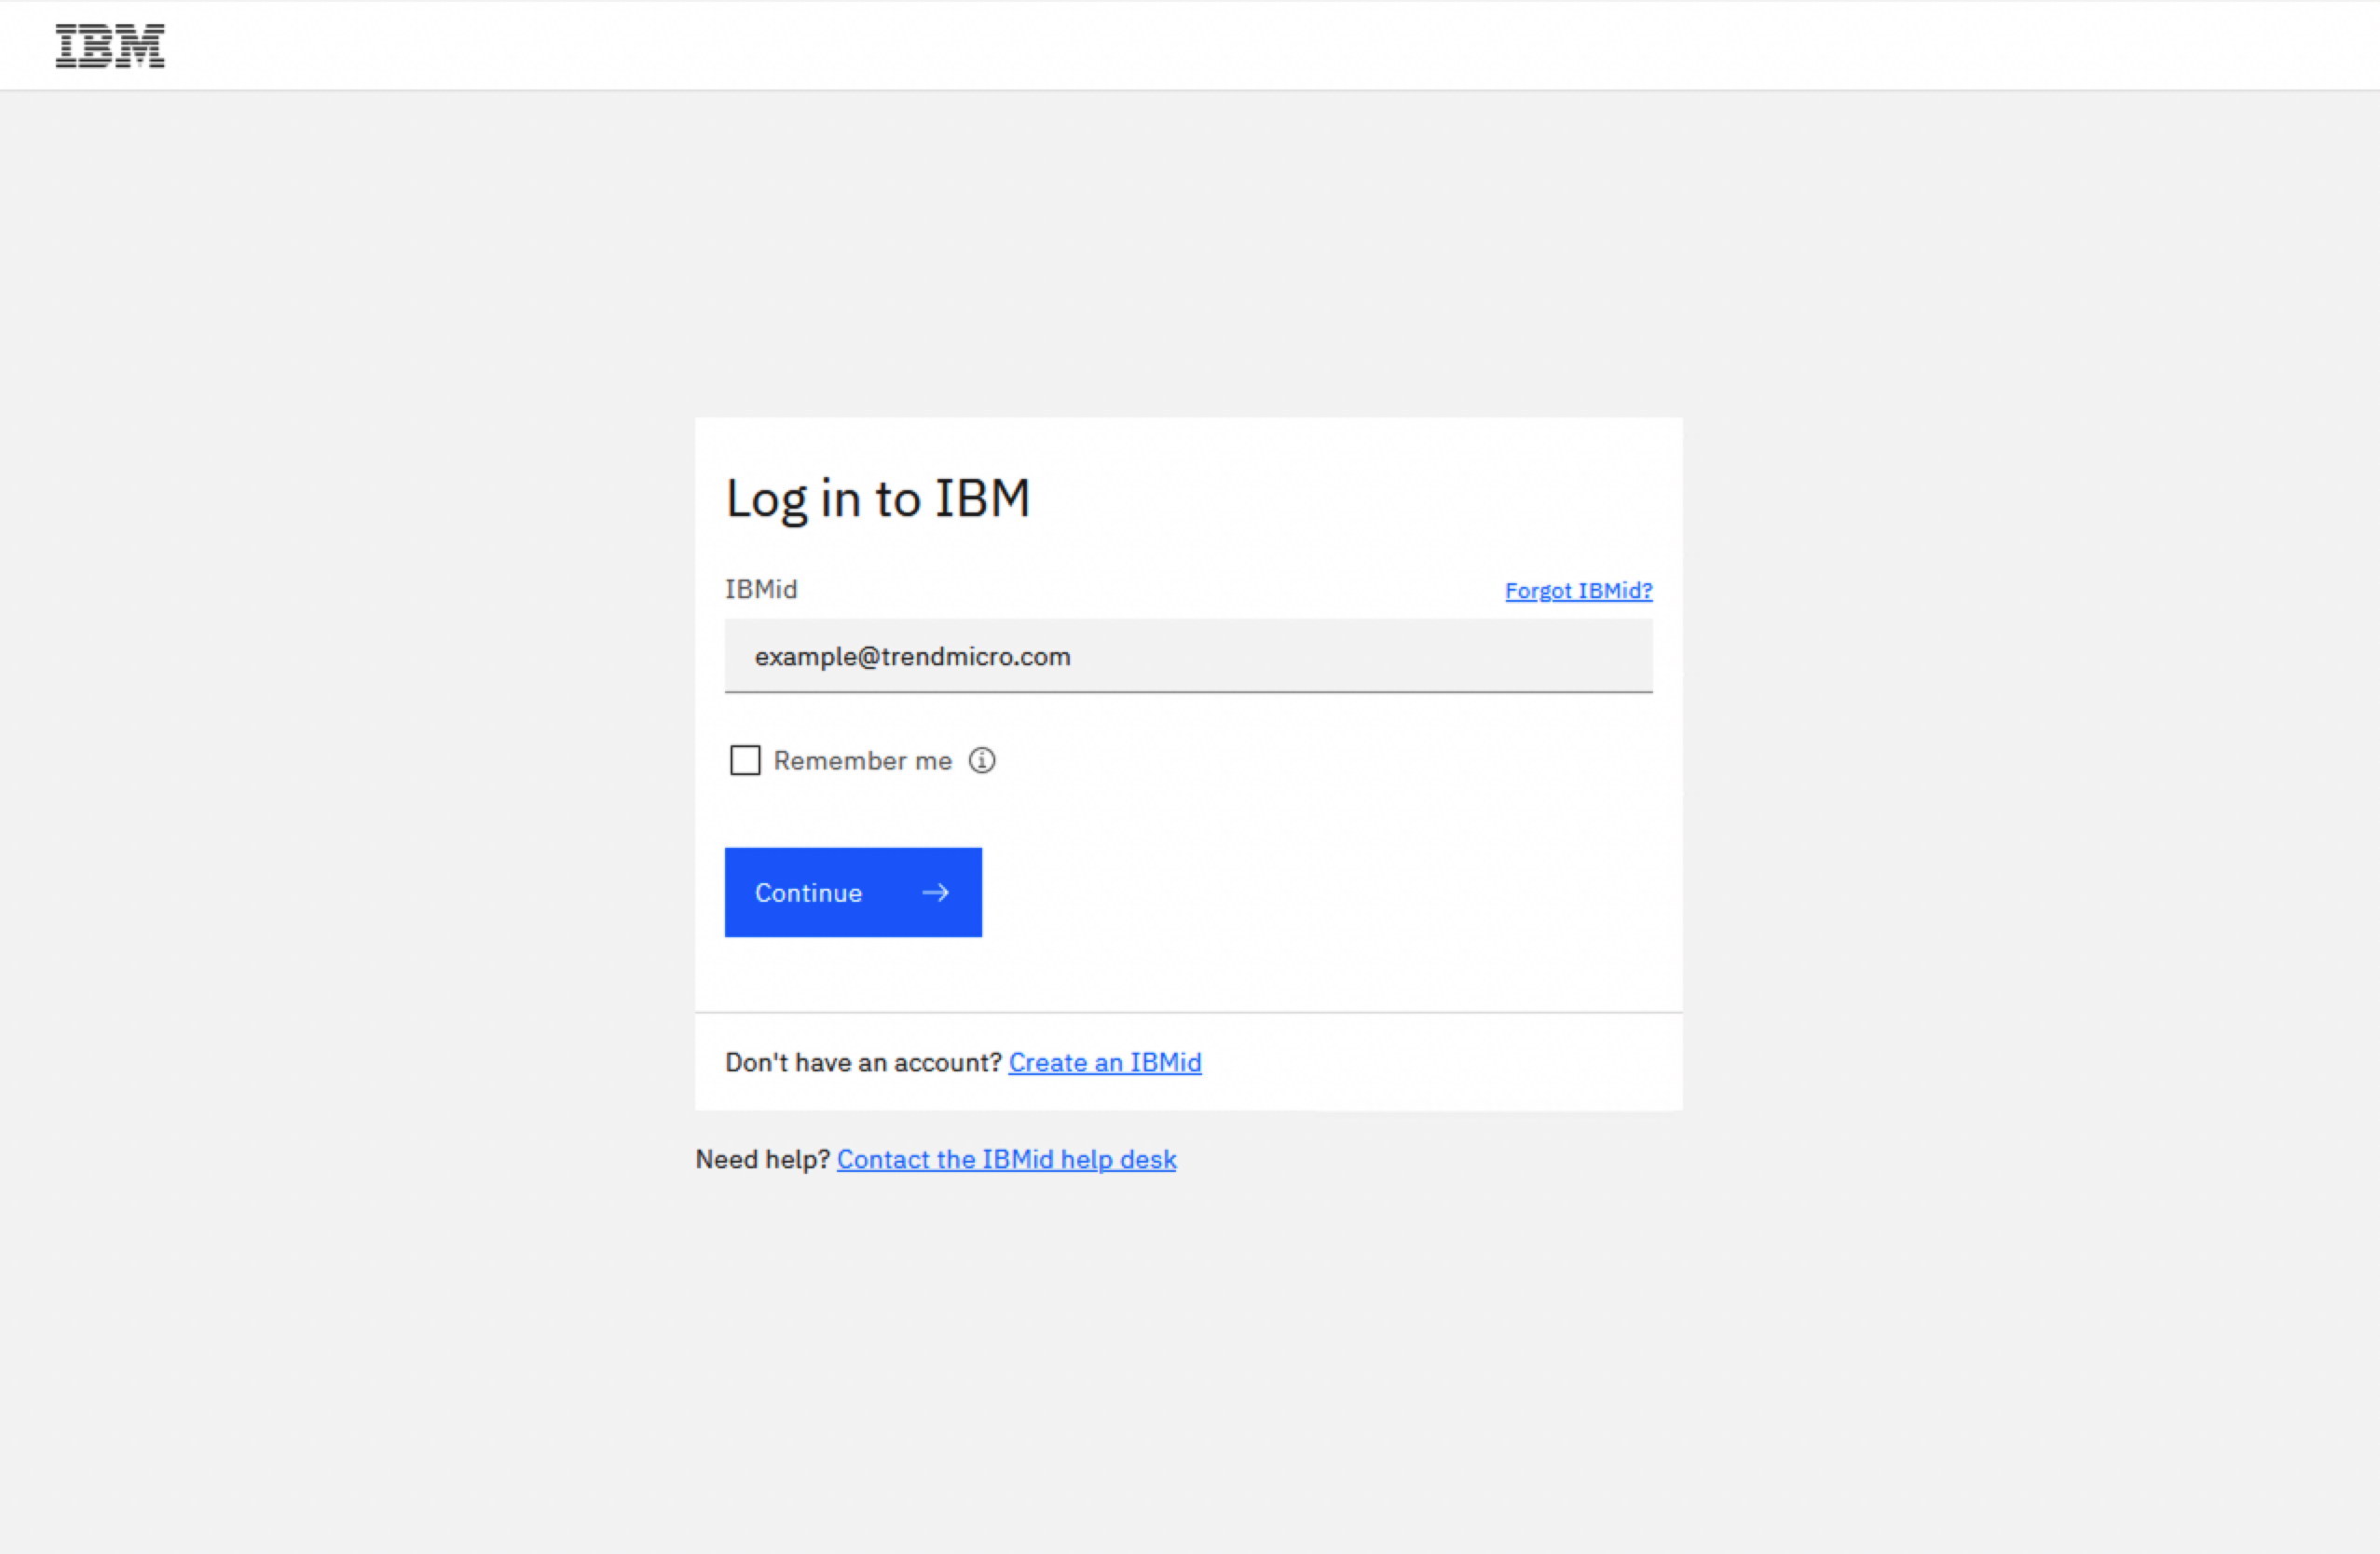
2. In the RDP session, use Firefox to sign into your IBM Aspera Account.
- IBM Aspera sign in url:
https://myibm.ibm.com/?lnk=mmi
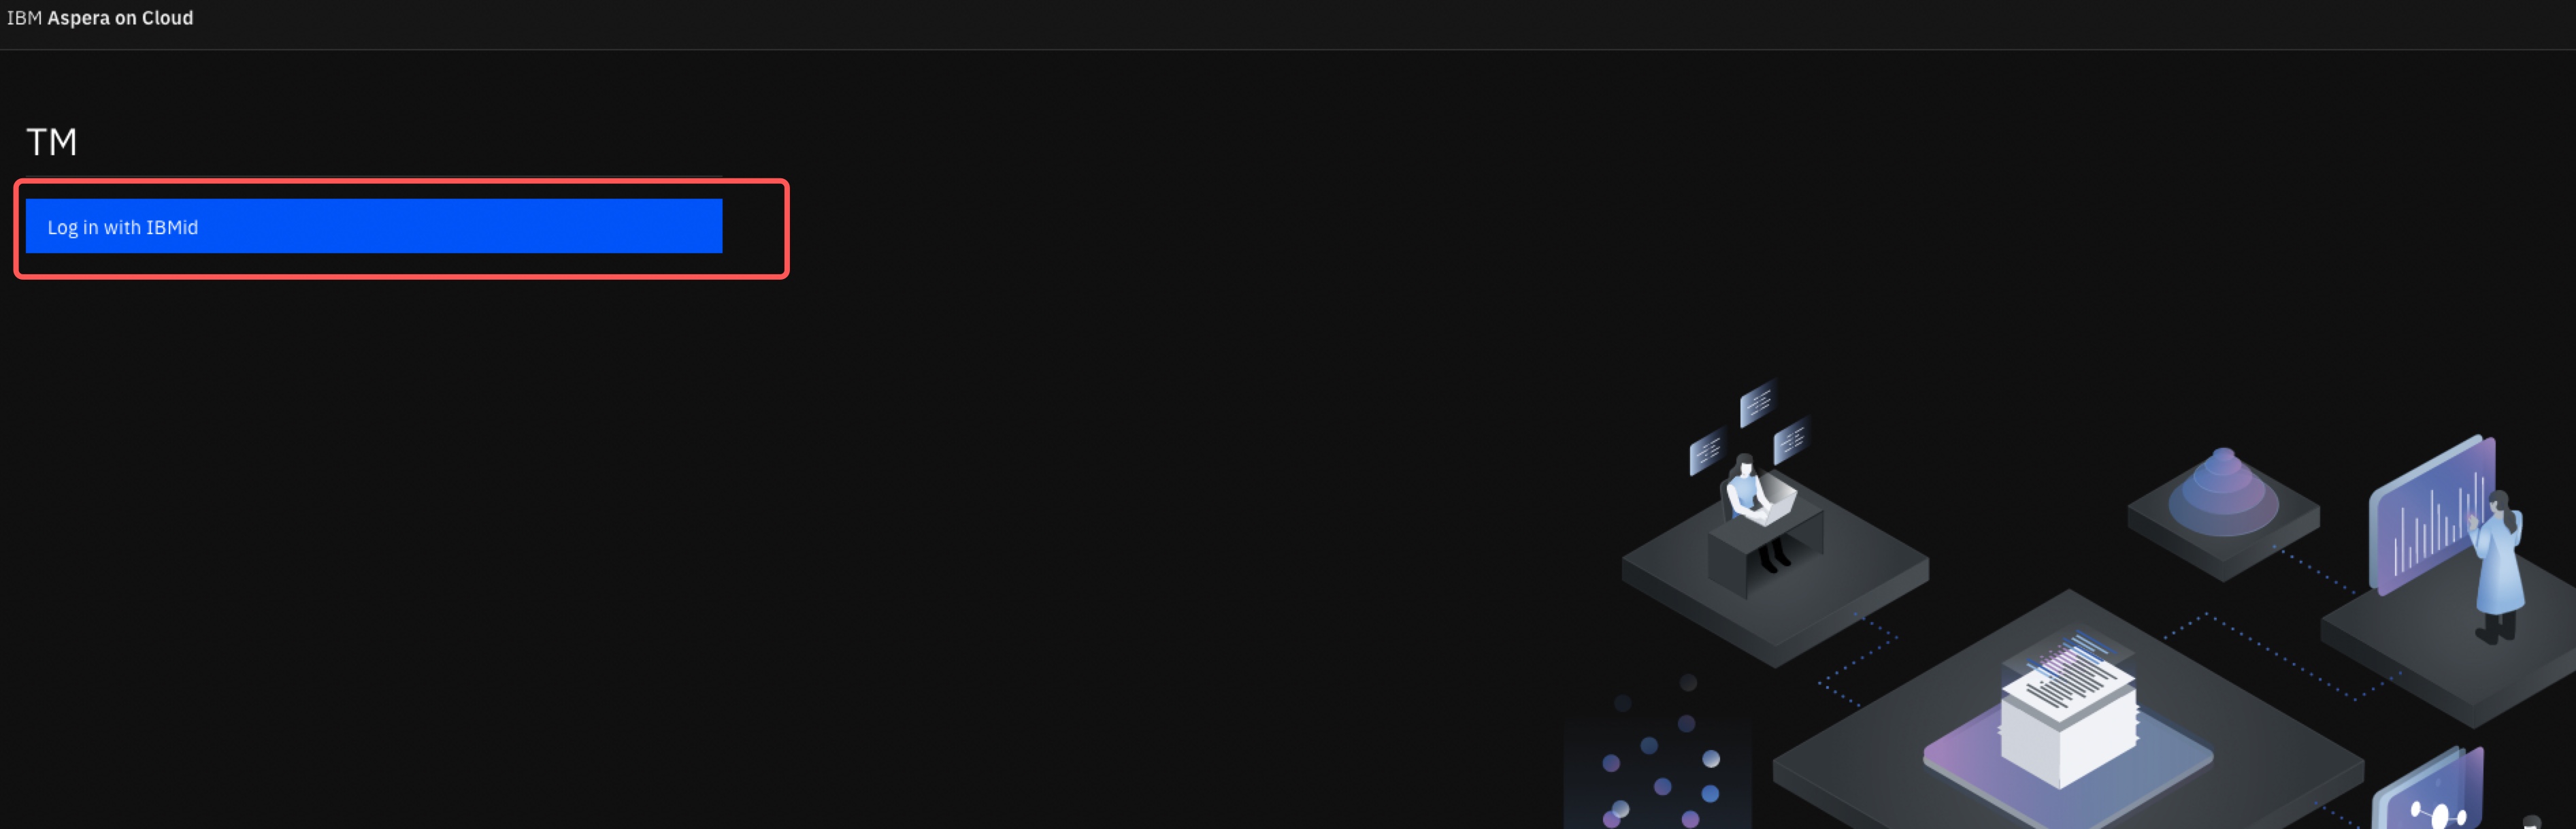
1. Launch Aspera on Cloud.
- Click Launch to be directed to IBM Aspera on Cloud.

3. Authenticate to IBM Aspera on Cloud.
- Click on Log in with IBMid.
- Click On Files.

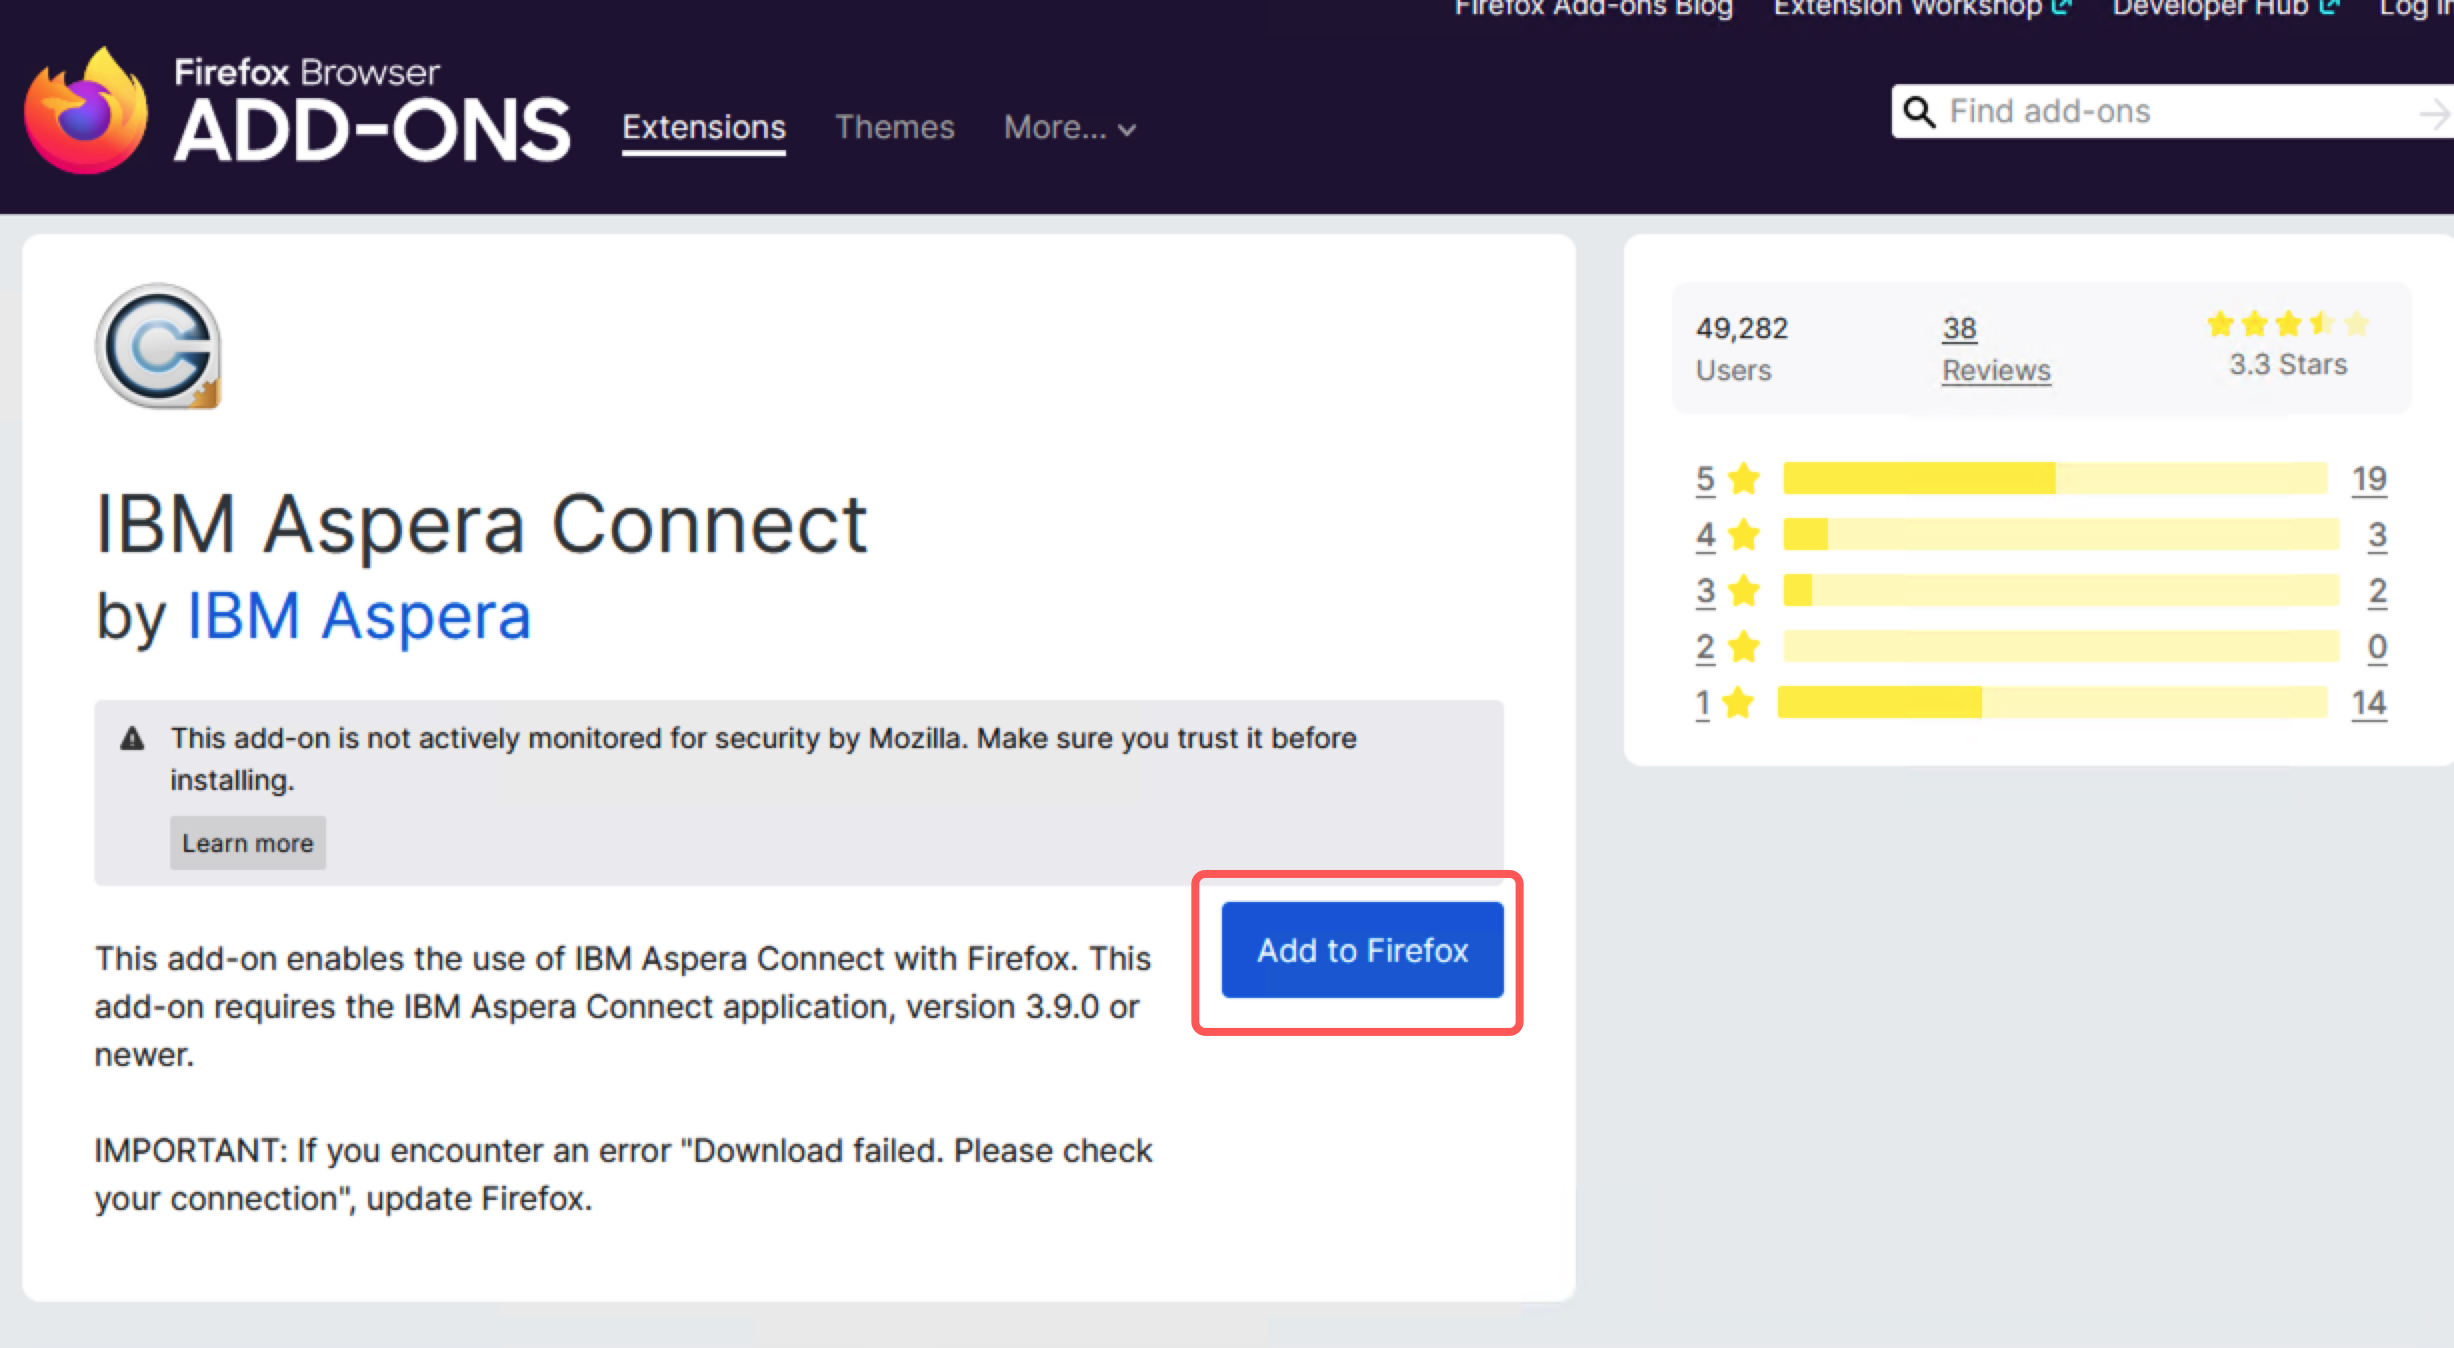
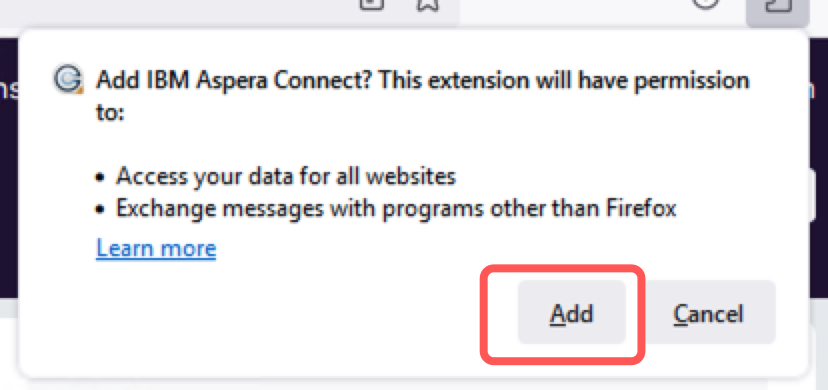
3. Install Aspera Browser Extension.
- Click Install Extension.
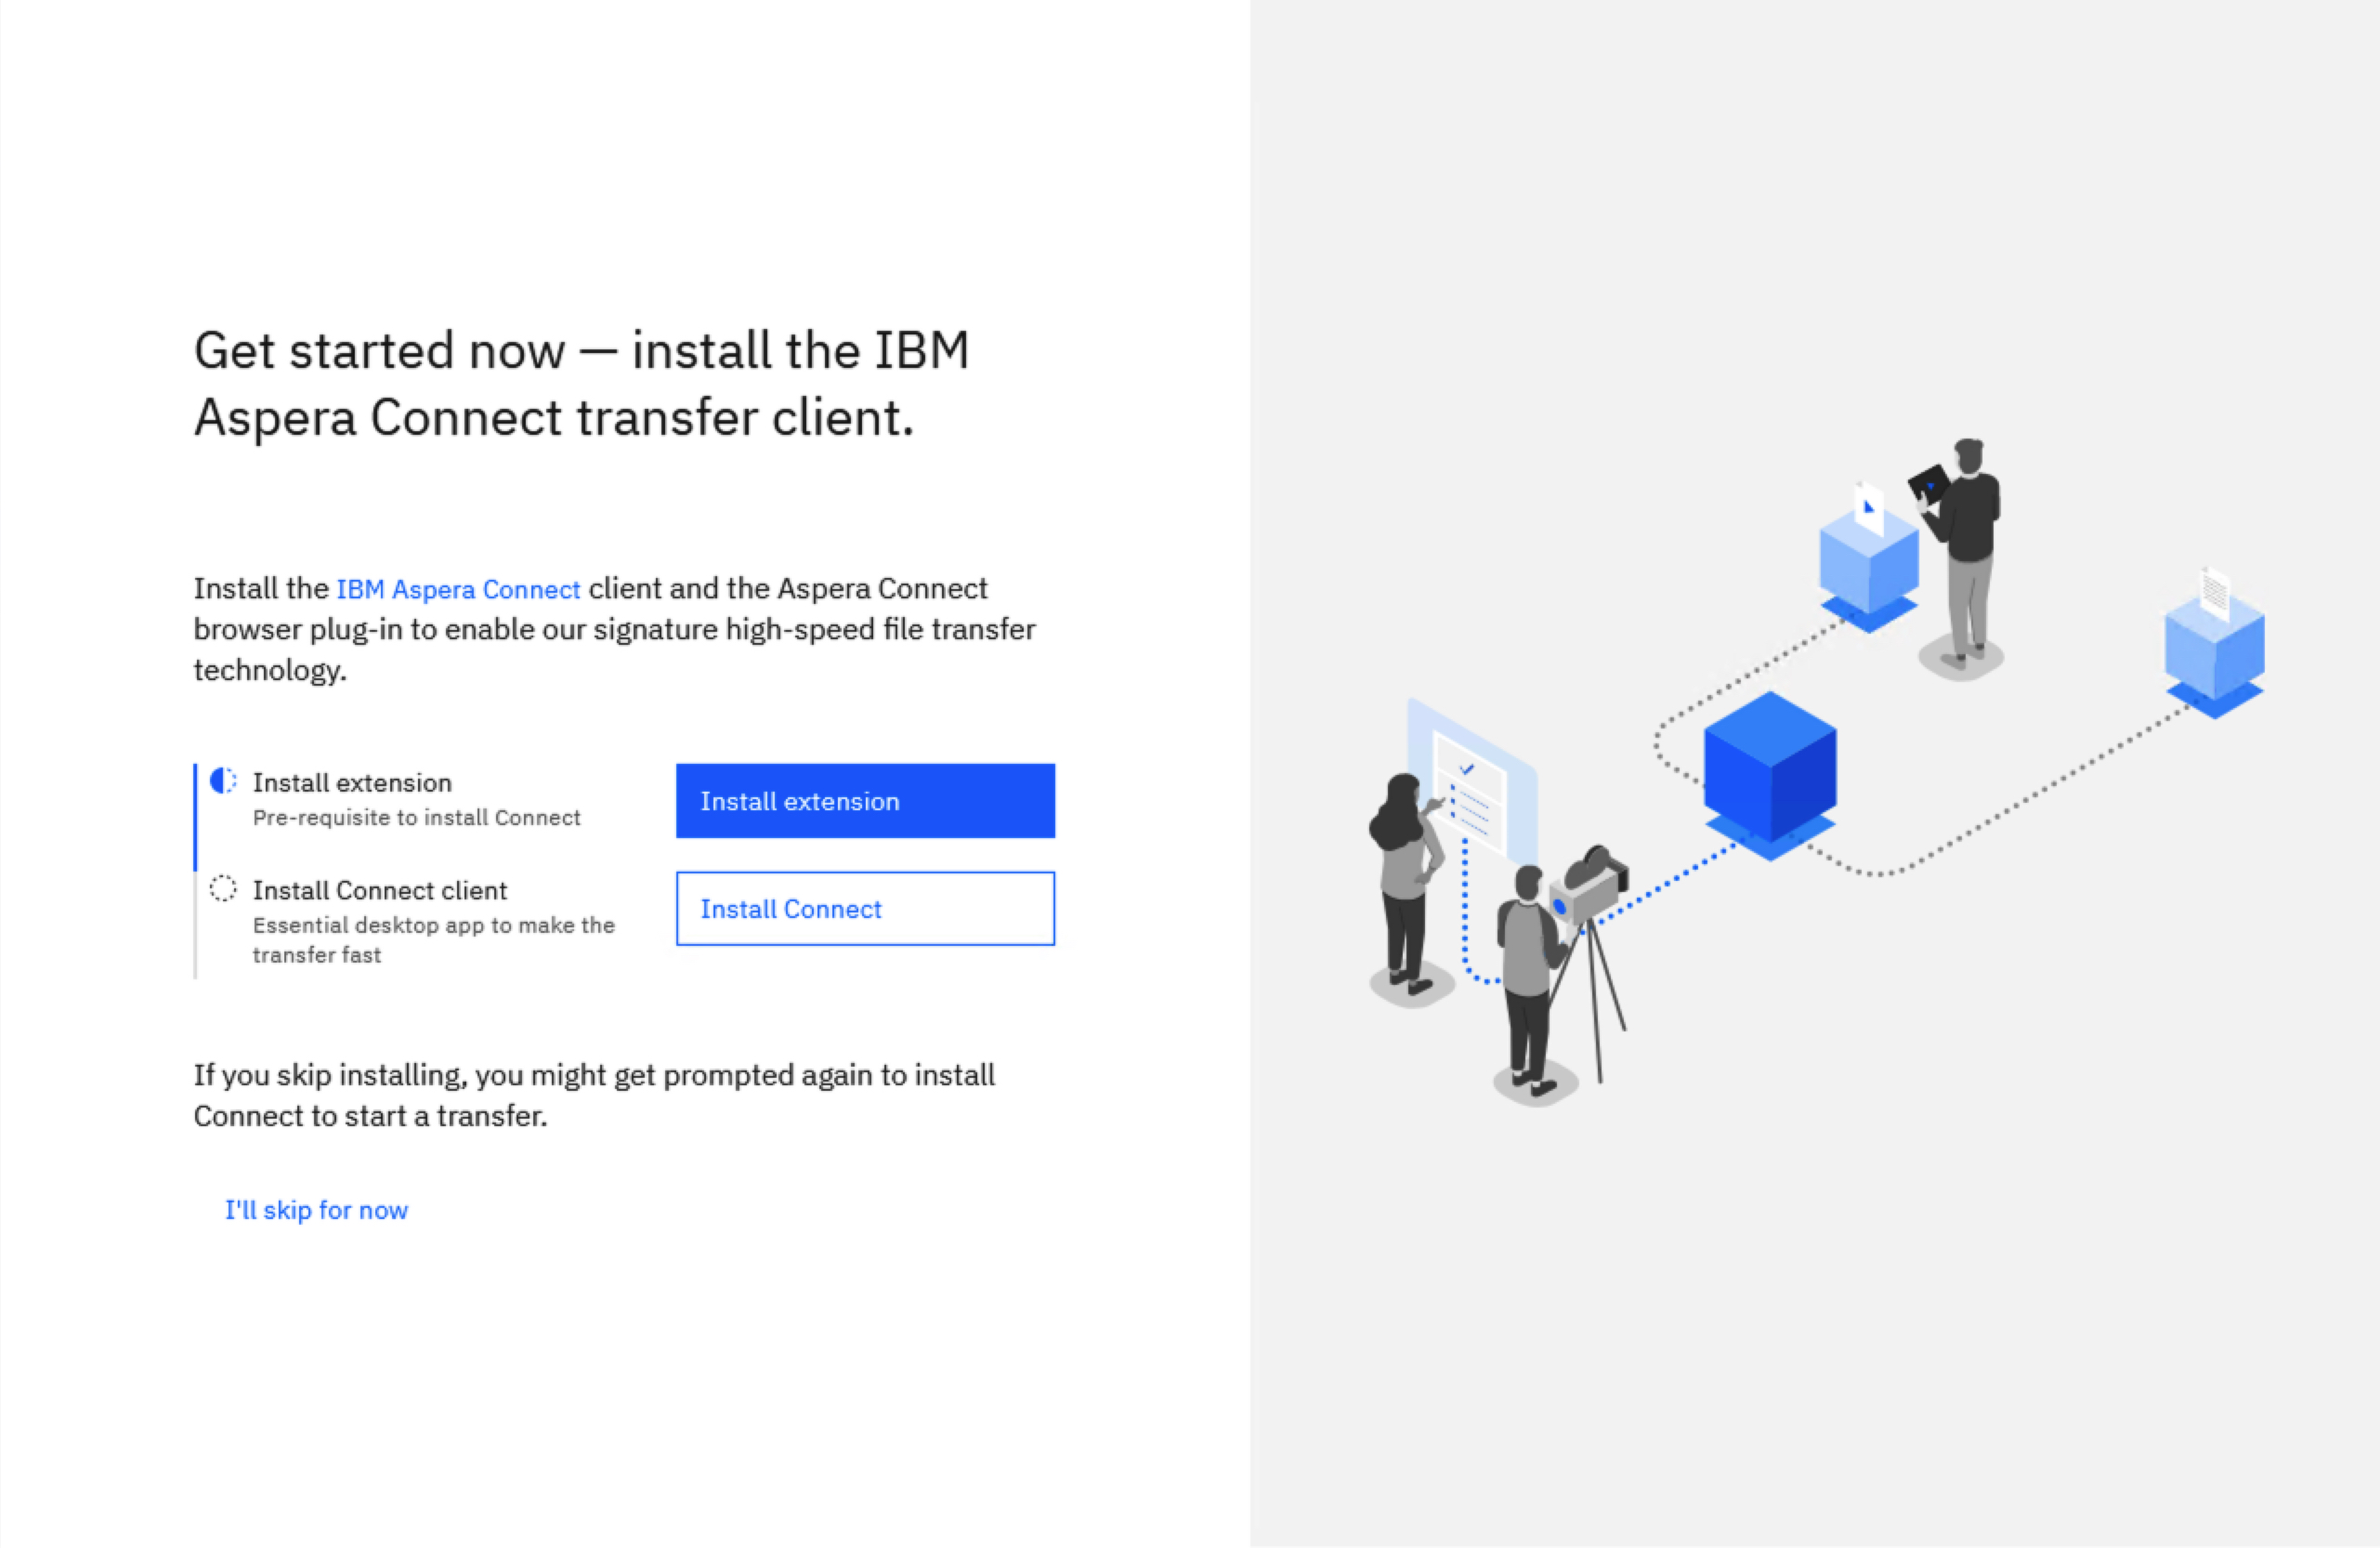
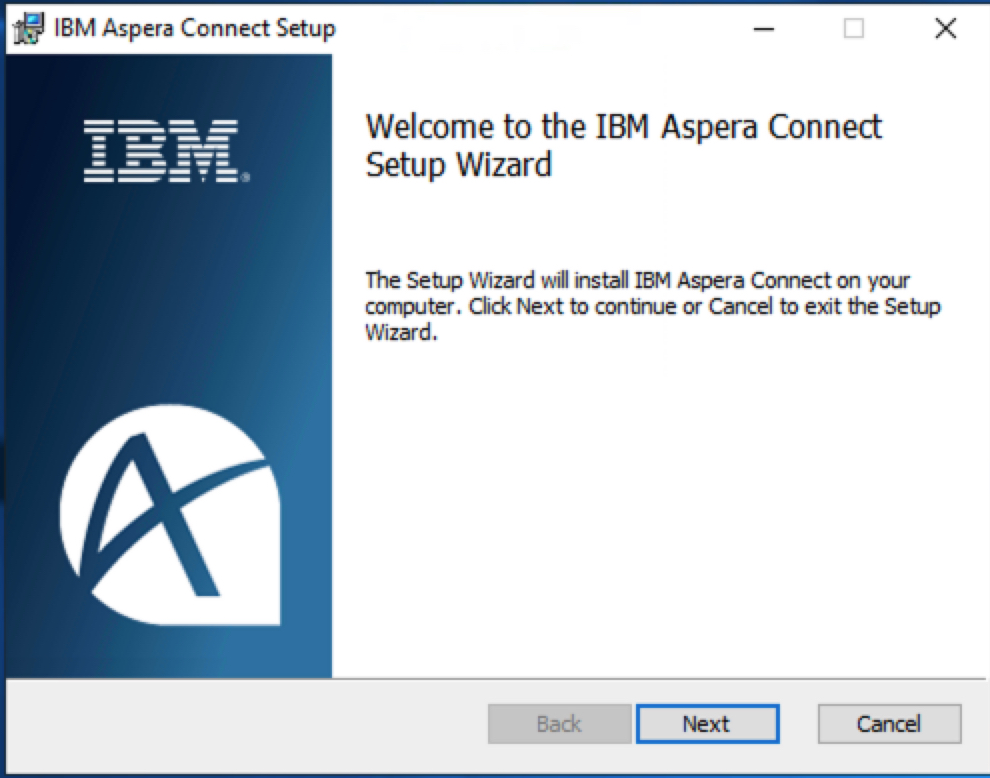
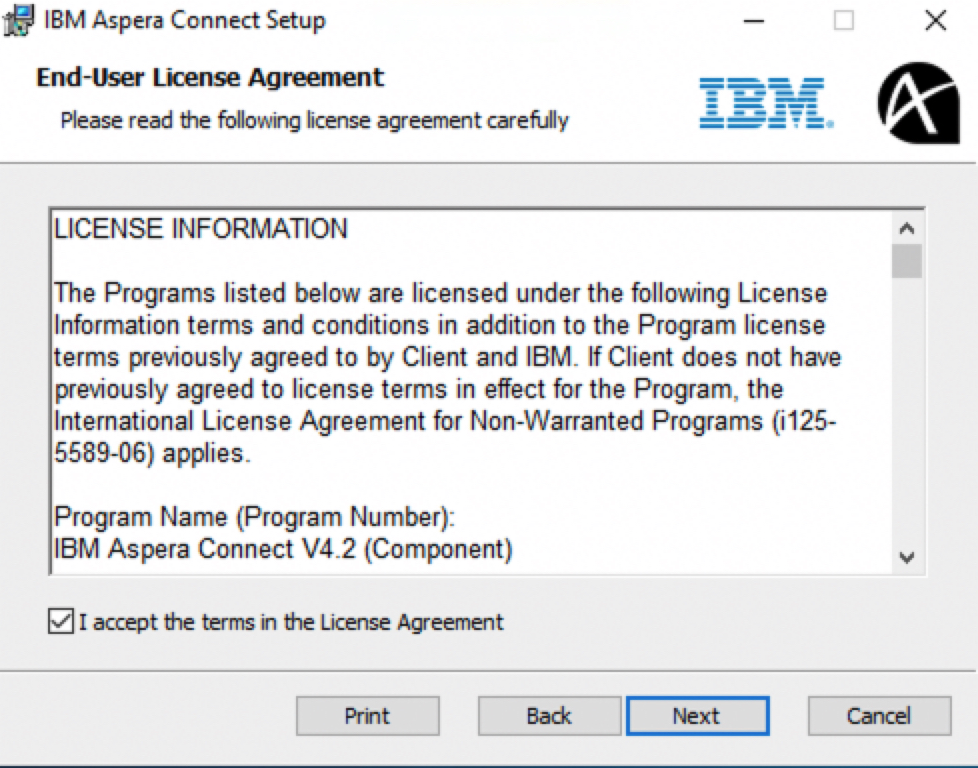
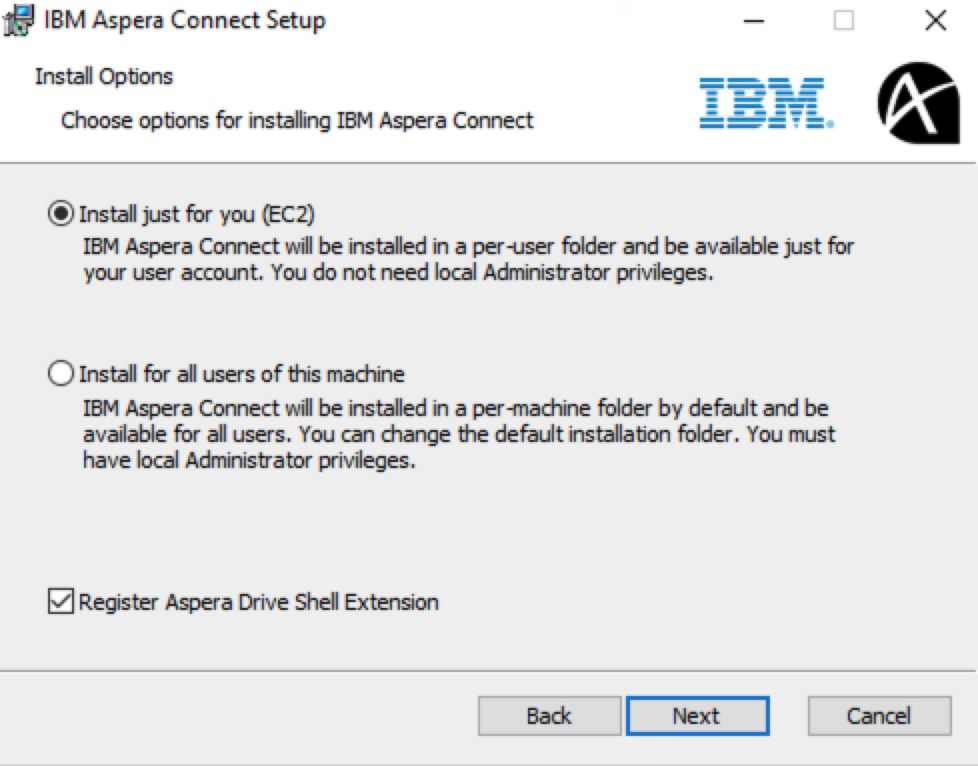
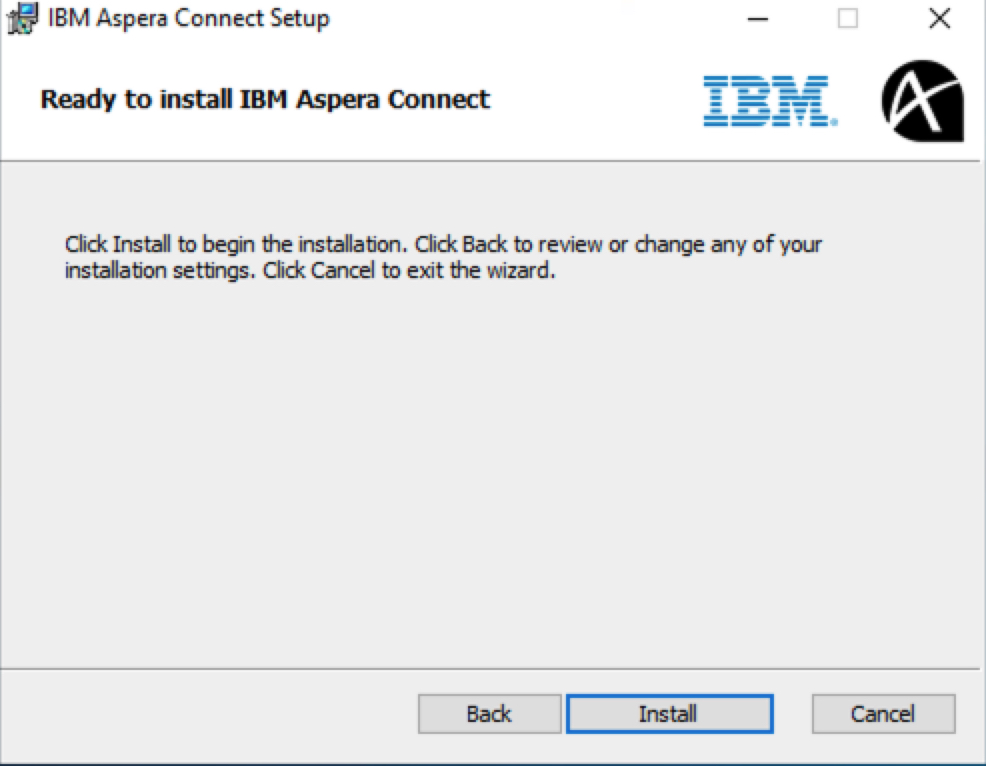
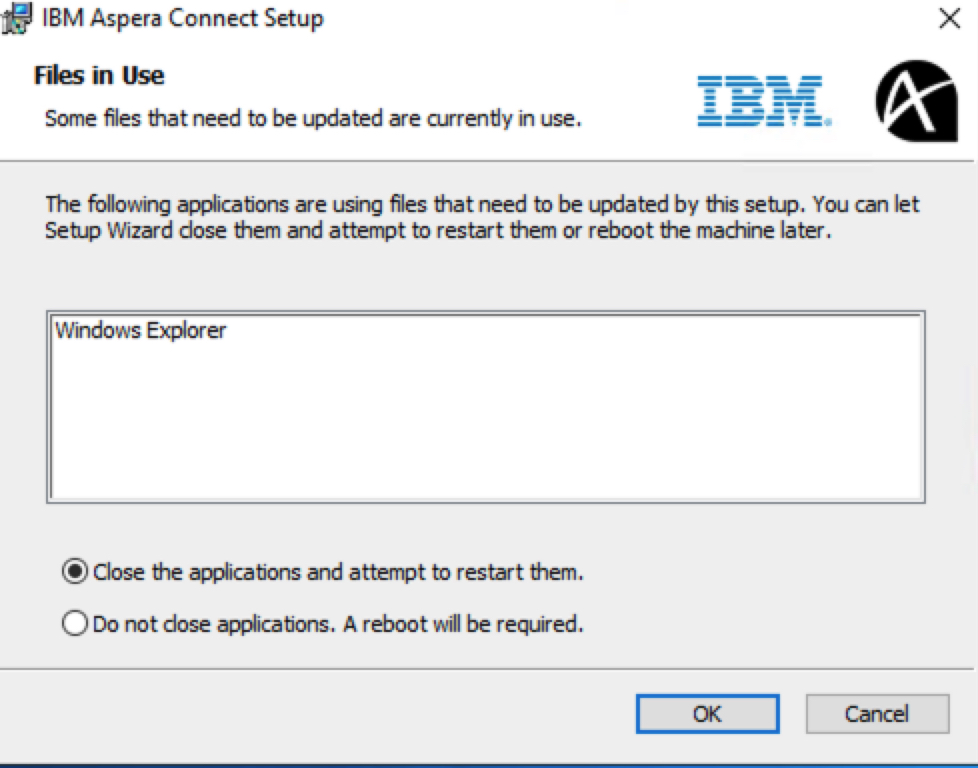
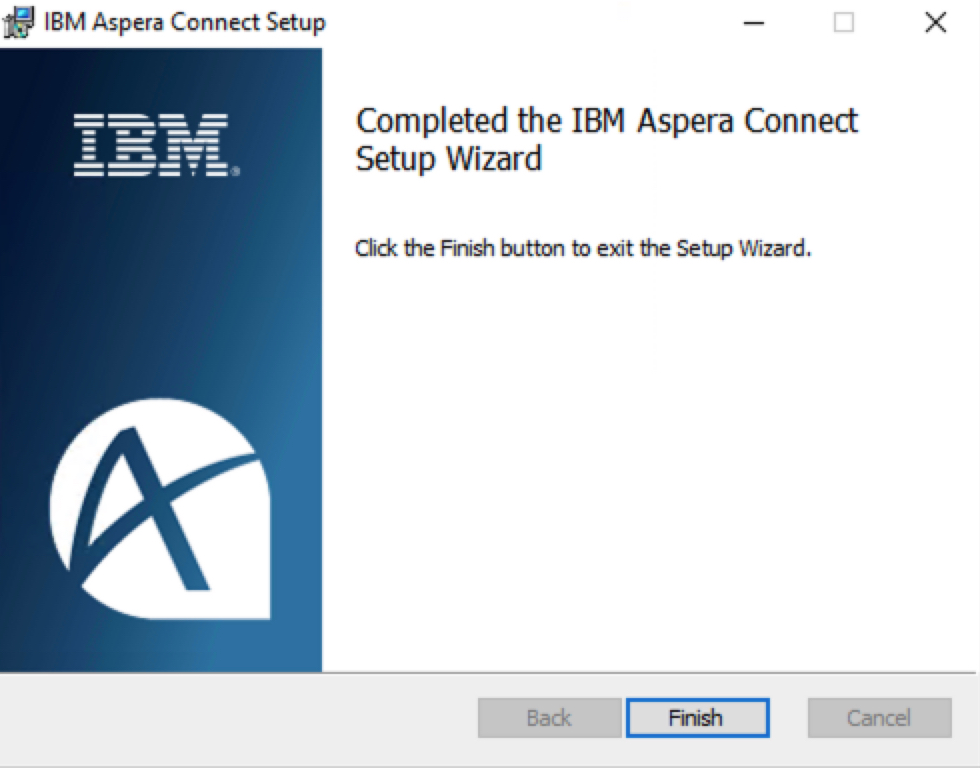
4. Install the Aspera Connect Client.
- The Aspera MSI Package is already provided on the Desktop. Double click to start the wizard.
-> CLICK HERE to wizard install image walkthrough.
Accept all defaults
Set up Transfer Workspace
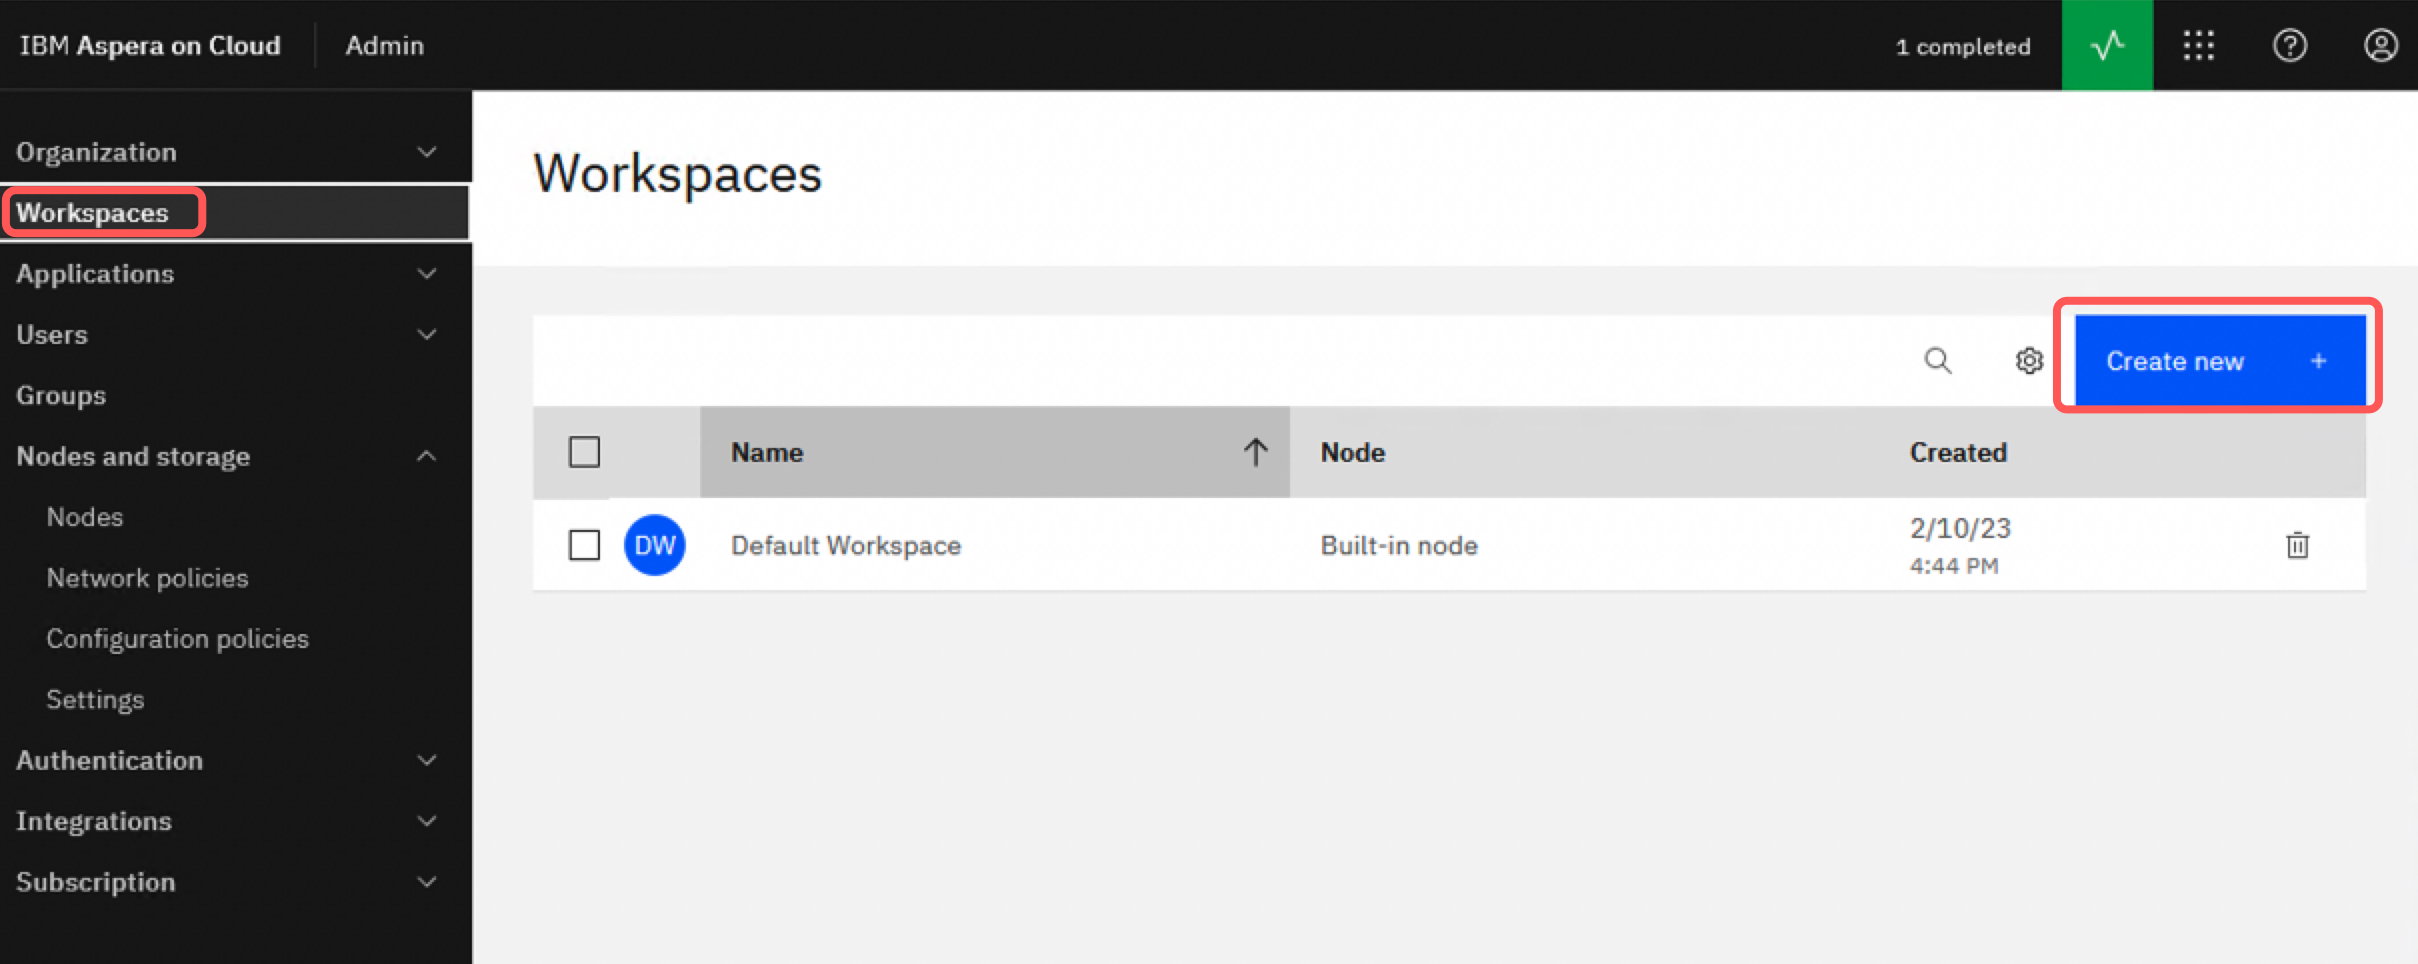
1. In the Aspera portal, navigate to Admin page > Workspaces.
- Click Create New.
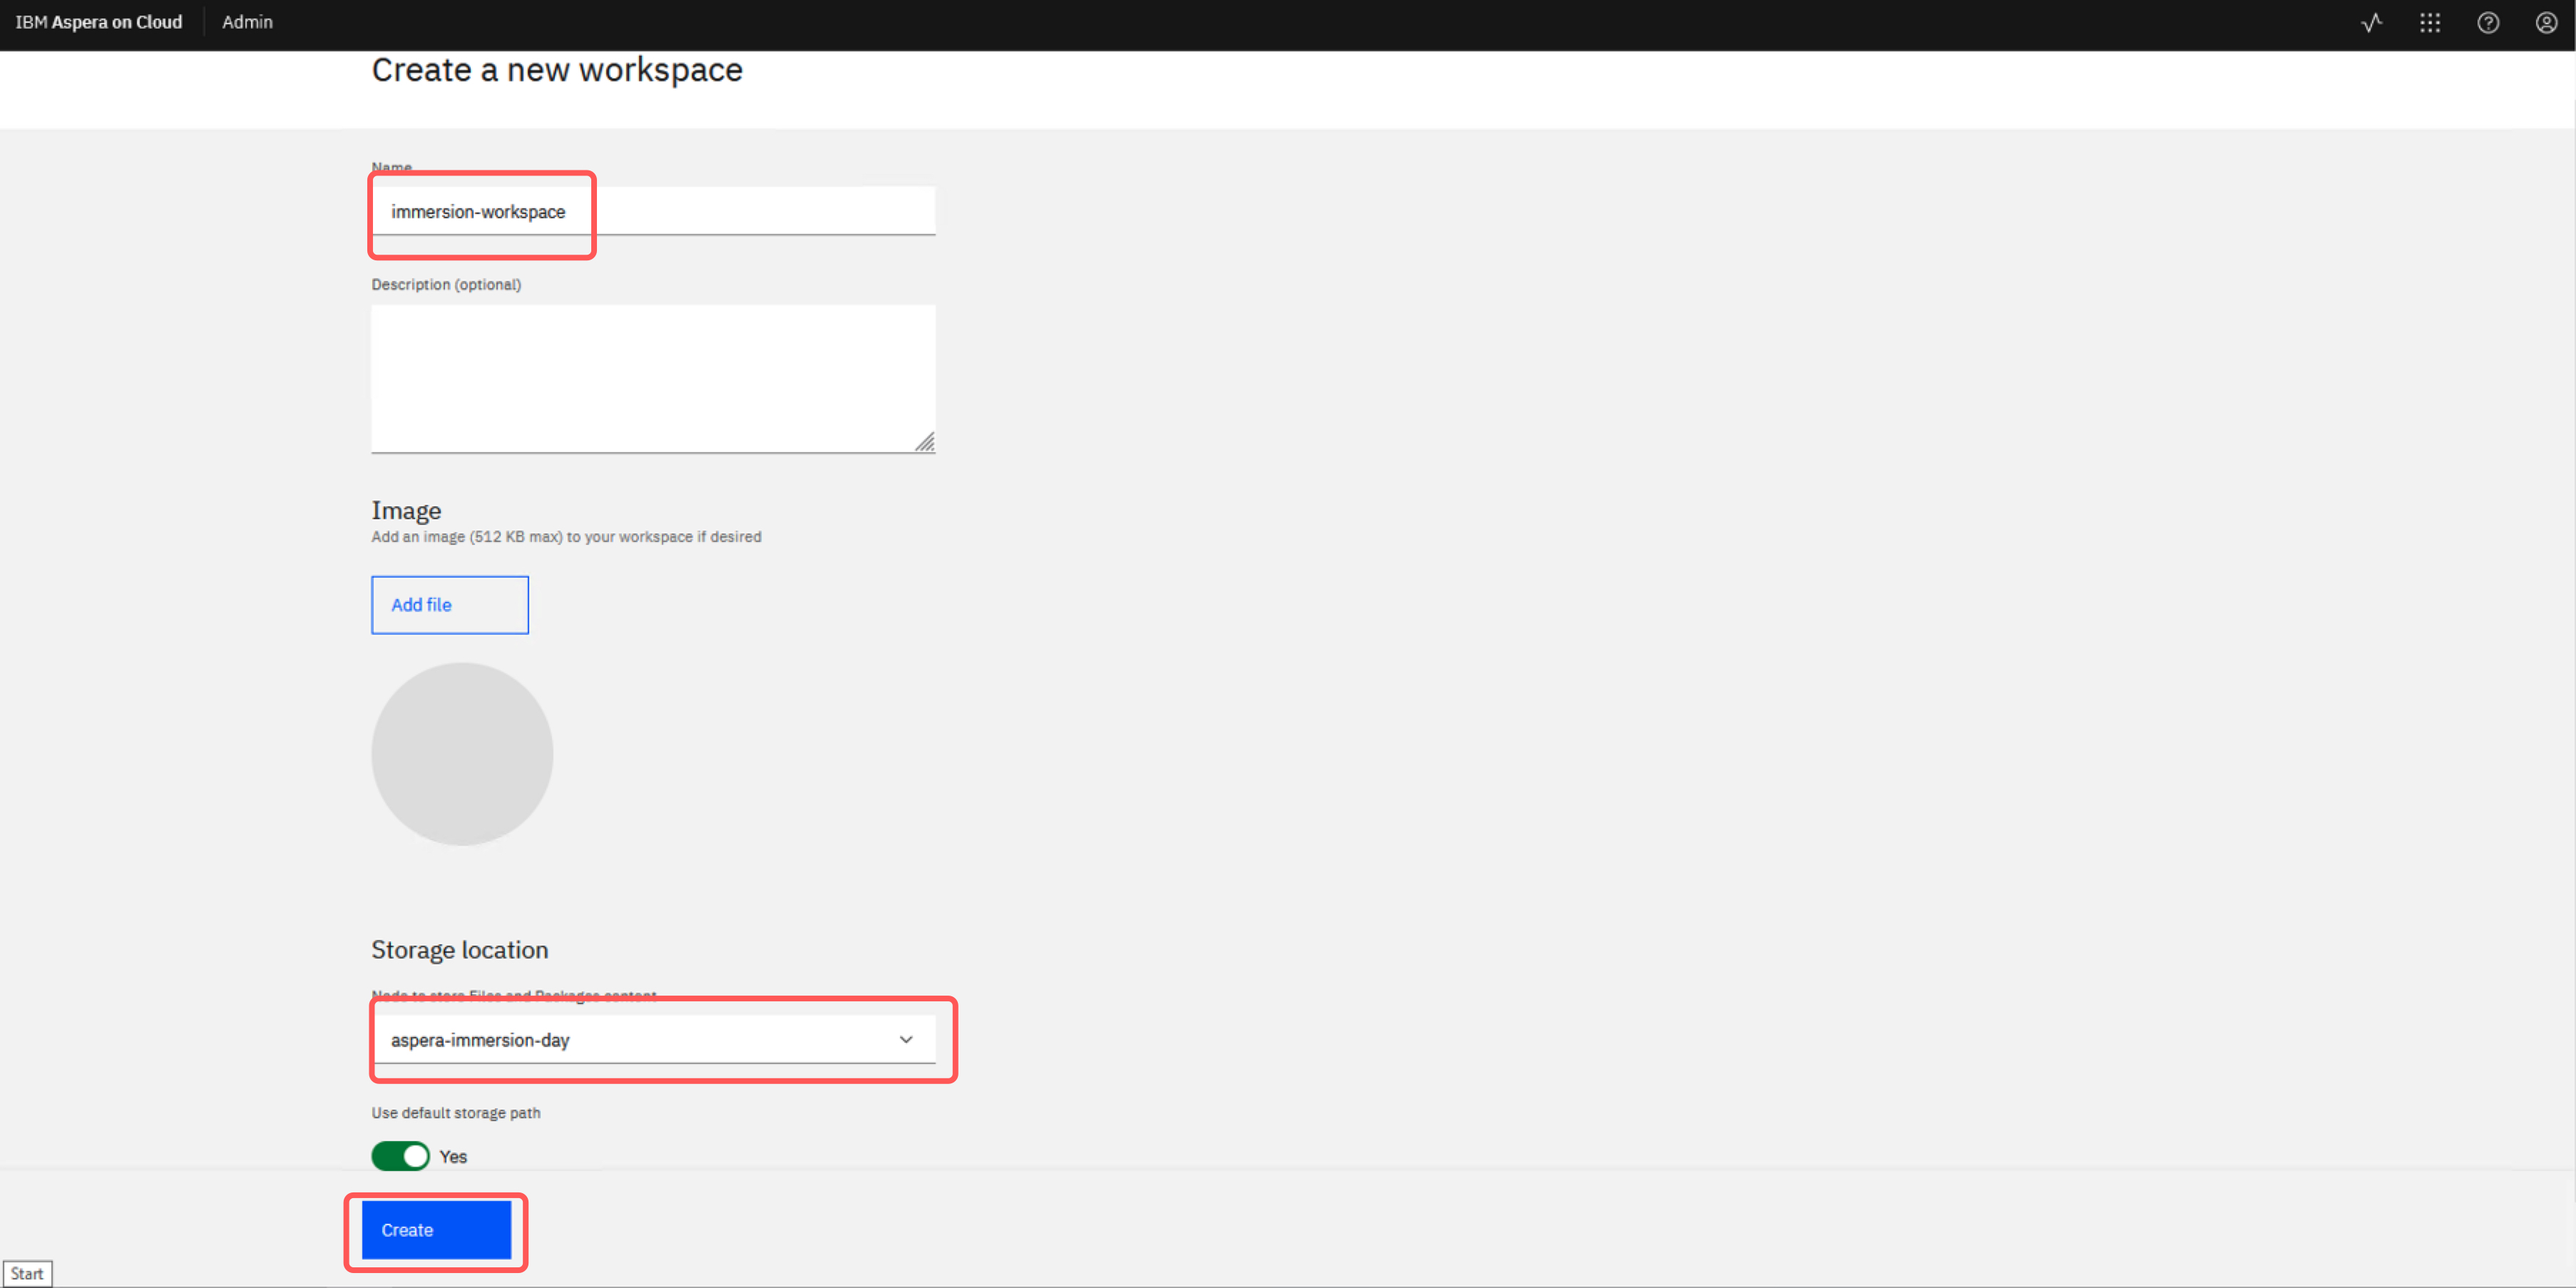
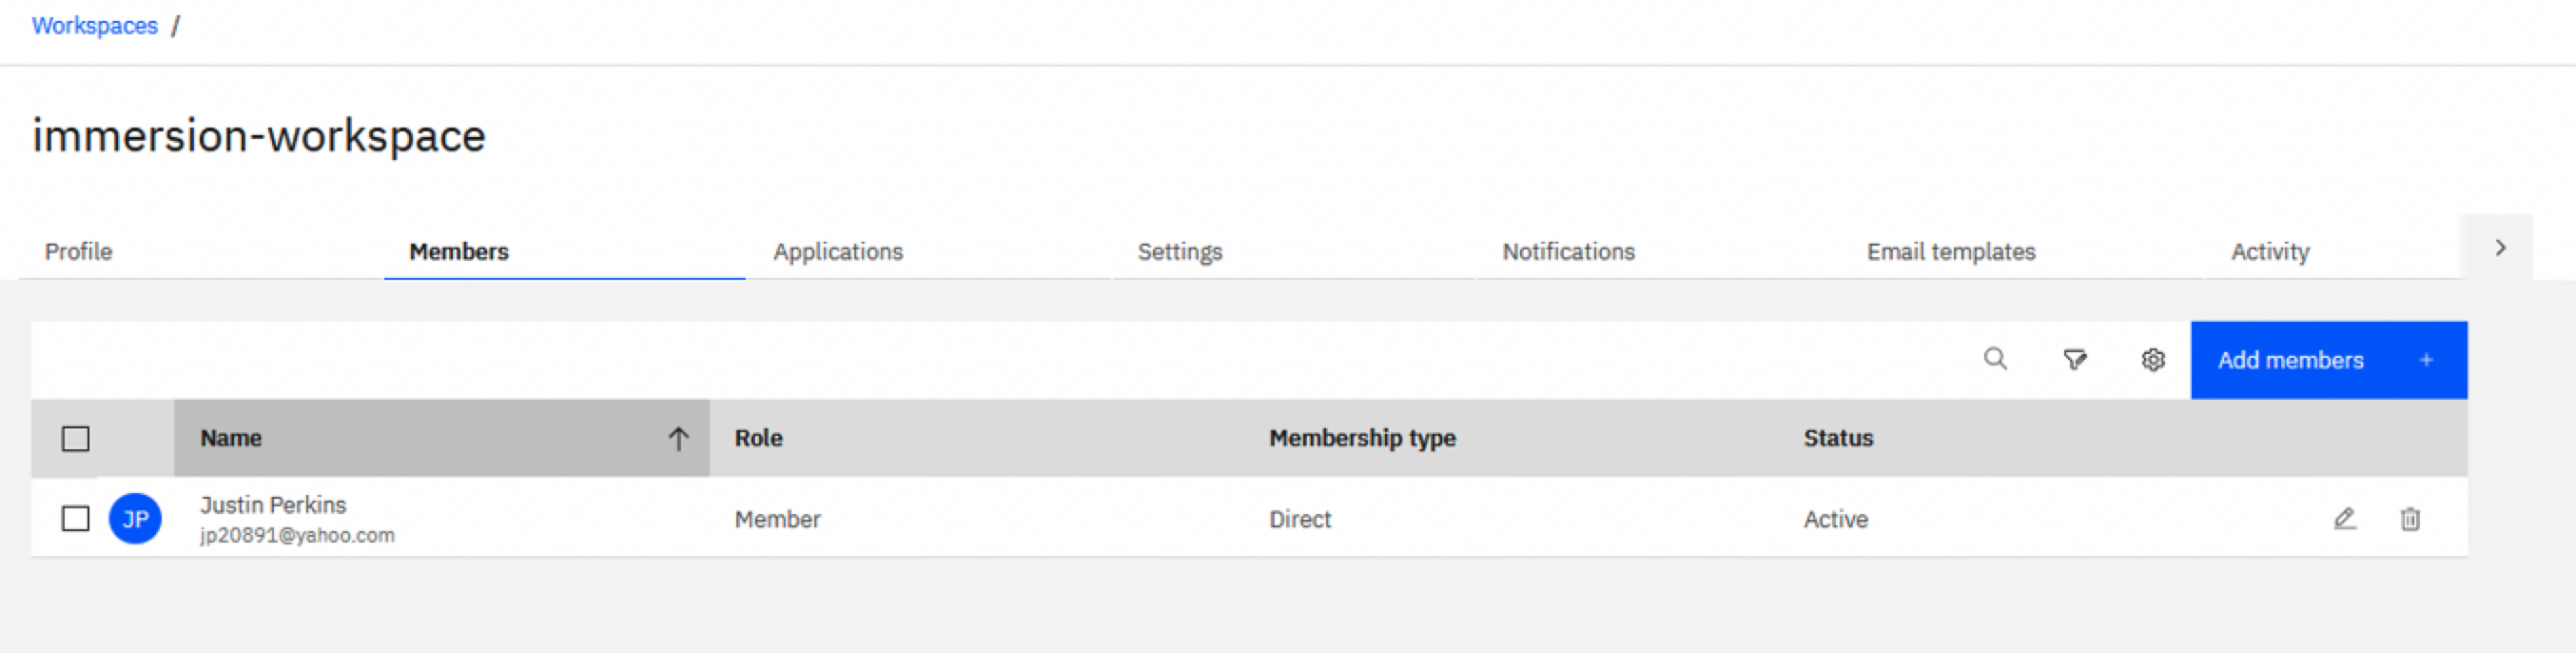
2. Create a new workspace!
- Name:
immersion-workspace - Storage location:
select your s3 bucket - Leave the rest as deafult.
- Create.
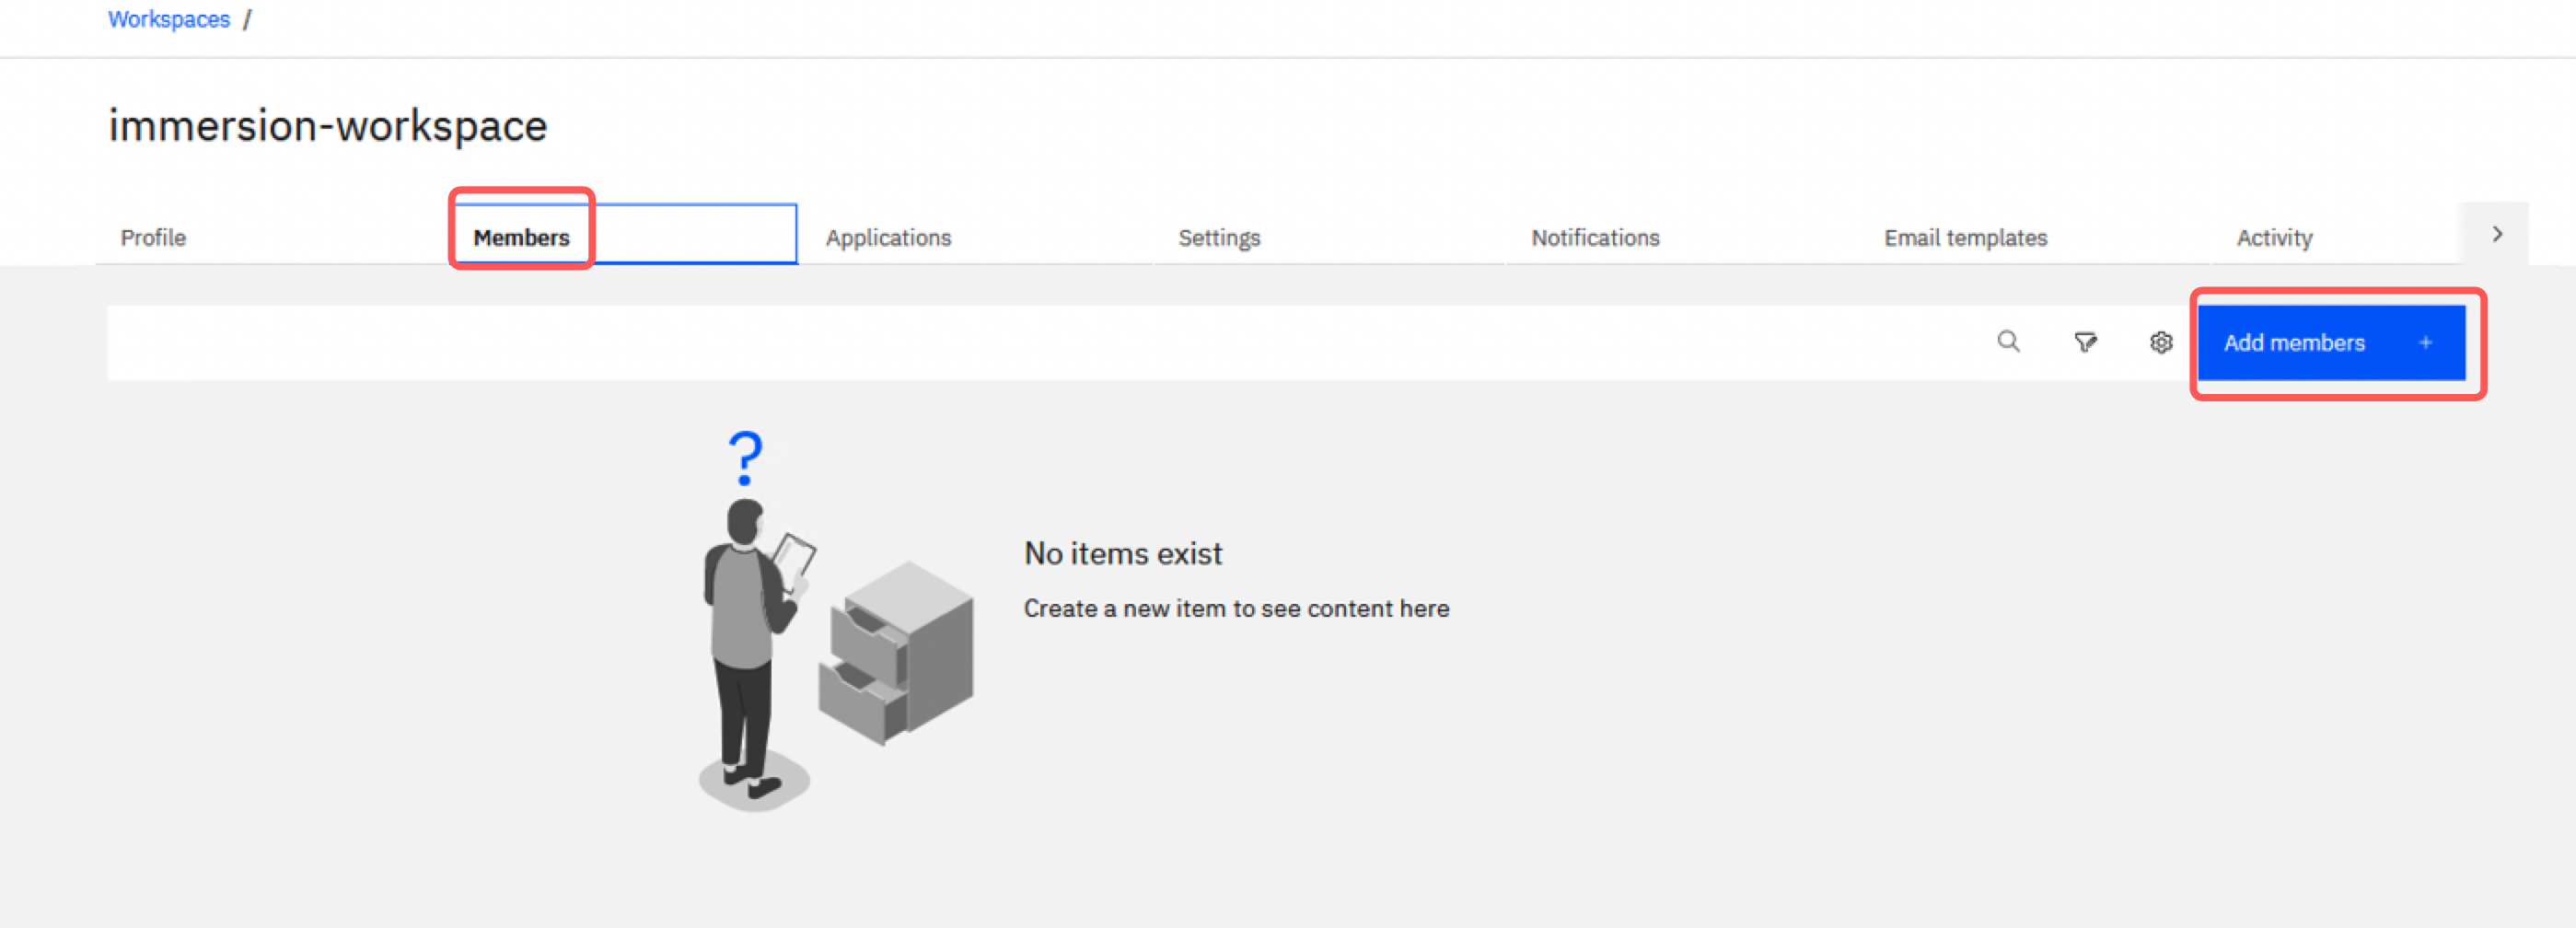
- Add a member.
- Click the members tab.
- Click Add members.
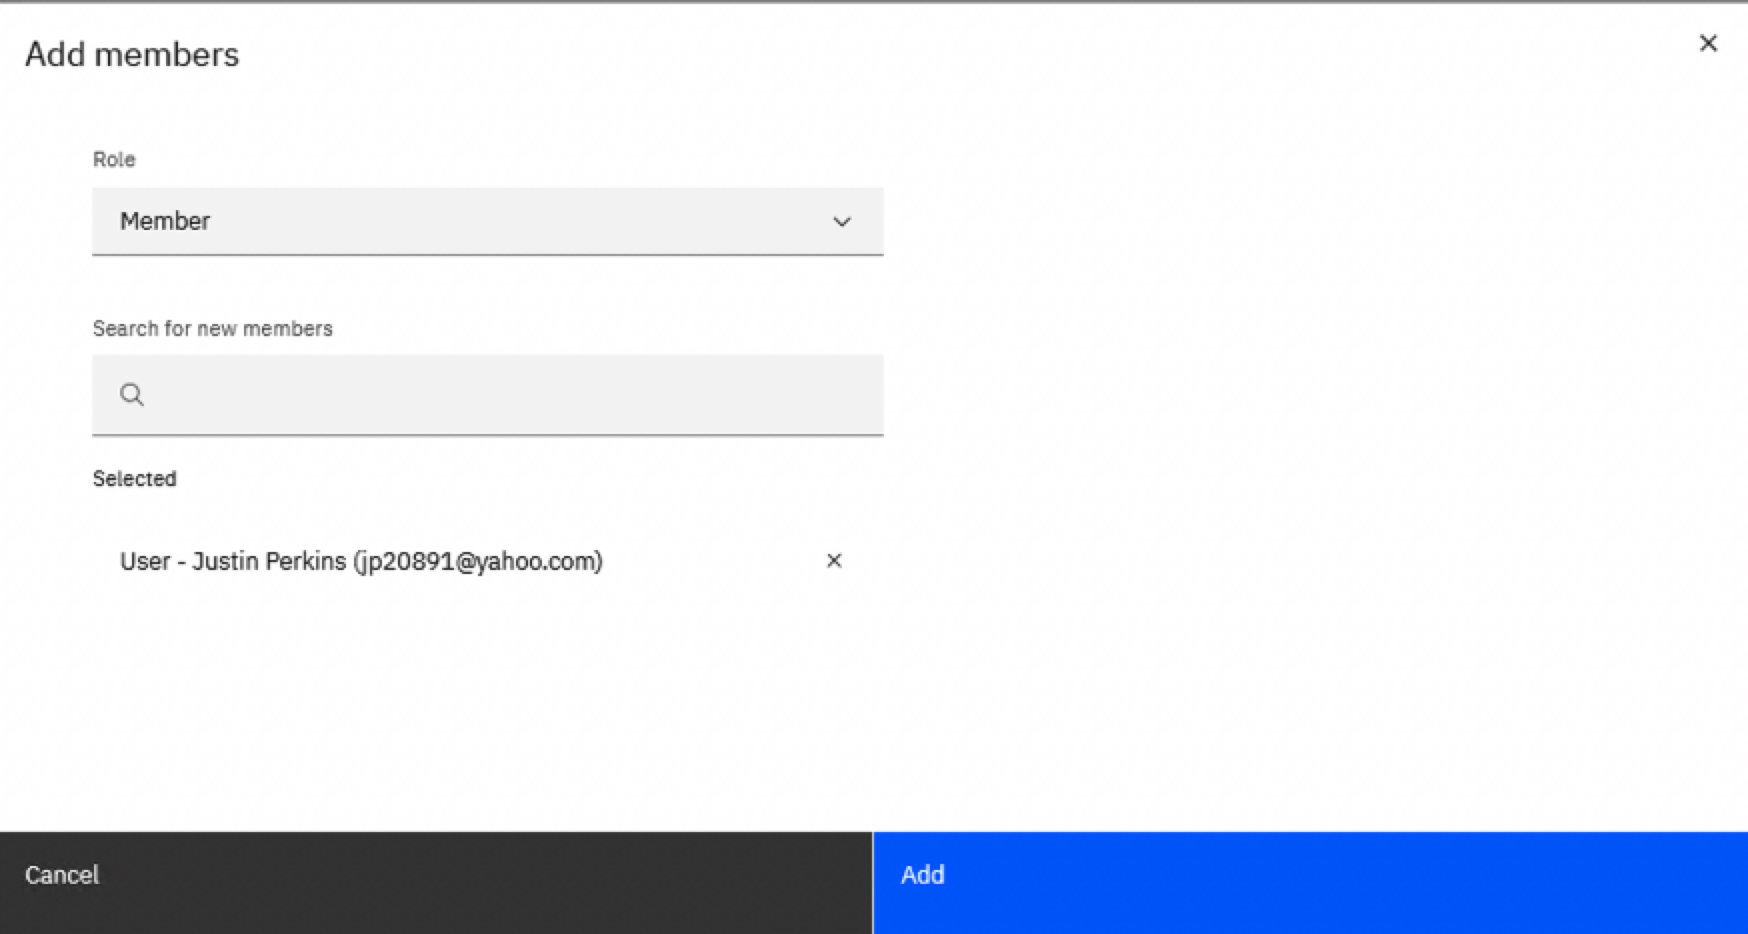
- Type your email and select yourself.
Let’s start the File Storage Security deployment now. 💻☁️🚀